
Almond flour and almond meal are used in many baking recipes. Not only they are gluten free but both ingredients are also high in protein. However, I try to avoid using almond flour because it is high in calories (1 cup of flour equals to 90 almonds – you do the math) and it is high in inflammatory polyunsaturated fatty acids (my fingers get swollen and painful skin sores can surface if indulging too many foods with almond). You can read more about the negative side effects of using almond flour here. But using it in moderation is the key.
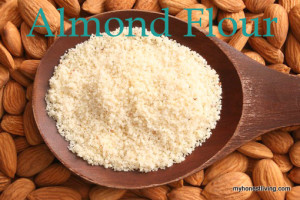
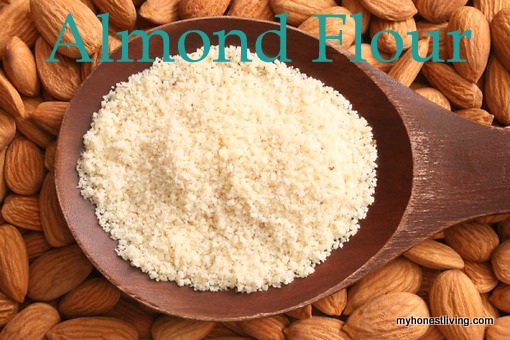
ALMOND FLOUR
The first step is to sprout your almonds. Nuts contain inhibitors that shield them in nature until growing conditions are perfect. The inhibitors, however, also keep your body from accessing the nutrients in nuts. Soaking nuts prior to eating them releases more of their vitamins, which allows those nutrients and health benefits to be more easily absorbed by your body.
- Measure the amount of nuts you wish to prepare.
- Rinse your nuts thoroughly with water.
- Place your washed nuts in a bowl or jar.
- Add water to the bowl. You will need 2 times the amount of water as you have nuts in the bowl.
- Cover the bowl. Select a clean cloth and lay it over the bowl as a cover. This type of lid allows the contents of the bowl to breathe.
- Soak the nuts according to its density type. In this case, soak the almonds for 8-12 hours.
- Drain, rinse, and replenish the water in the bowl. Every 3 to 4 hours, the water in the bowl should be refreshed. The water in the bowl contains all the enzymes, acids and byproducts you are trying to remove from the nuts by soaking them. Use a colander or screen over the opening to drain the water.
The Second step is to blanch your almonds – the step to remove the skin. These make for a more uniform-colored flour and a more even taste.
- Boil the almonds for about a minute or two, uncovered.
- Use a cloth or your hand by rubbing the skin off or removing nut from the shell.
- Completely dry the almonds before starting to make the flour as the water will make it into butter.

The Third step is to grind the almonds. Place any amount of almonds inside a food processor, coffee bean grinder, or blender. Again, it doesn’t matter how many almonds you use. However, unless you know you will use the flour right away, it would be safer to use fewer almonds as almond flour has a relatively short shelf life — 3 to 6 months in the fridge and even less outside. Pulse until you get a fine, grainy consistency. This usually takes anywhere from 30 seconds to a minute, maybe longer depending on your pulsing apparatus. If you want finely textured almond flour, be sure to pulse the almonds a little longer. Be advised, however, that pulsing the almonds for too long can result in almond butter.
Lastly, use immediately or label and store in a chilled place. Unused, room temperature almond flour can become rancid when it oxygenates for too long.
ALMOND MEAL
The First step is to grind sprouted almonds. Place any amount of almond in a food processor, coffee bean grinder, or blender. The only difference between almond flour and almond meal is that flour contains blanched almonds and meal contains almonds with the skins still intact. Therefore, make sure to know what your recipe calls for. Pulse the almonds in the food processor for less time than you might have making almond flour. Almond meal is generally coarser than almond flour. If you pulsed your almond flour for 45 seconds, only pulse your meal for 30 seconds.
Lastly, use immediately or label and store in a chilled place. Unused, room temperature almond meal can become rancid when it oxygenates for too long.
To be noted that almond meal is also one of the parts to make almond paste.